This article outlines the options for splitting checks when you are running a Restaurant or Suites operation with printed receipts, meaning that your server(s) accepts signatures and tips on printed receipts and then manually adds the tips on the completed order.
For these workflows to work properly, set up your Location Settings as shown below:
- Location Type: Commissary (Suites) or Restaurant. These two location types enable Server Station on the device, which allows the server to assign a Suite number or Table number the order.
- Allow Tips: On
- Accept Signatures on Printed Receipts should be toggled on. (If this toggle is not available on your Location Settings, then the alternative is that Accept Digital Signatures should be UNCHECKED).
-
Print Receipt Twice: On
- Note: the workflows outlined in this article will work if you don't print two receipts, but note that only one receipt for each guest with blank tip line and blank signature line will print and a second copy would need to be manually printed.
- Auto-Print credit Orders: On
-
Auto-Print other orders: On
- Workflow #1: Split Checks Evenly
- Workflow #2: Split Checks by Item
- Workflow #3: Split Checks by Guest (Restaurant ONLY)
Workflow #1: Split Checks Evenly
1. Enter Server Station.
2. Start a tab or tab no card.
3. Click the open tab on the Orders page.
4. Click SPLIT CHECKS.
5. Click SPLIT CHECK EVENLY and choose the number of guests you are splitting the check by.
Then, click PRINT ALL CHECKS.
Note: No matter the number selected, when you click PRINT ALL CHECKS (before paying checks), 1 receipt prints per check that you may deliver to the guest. If you'd like a second copy, click PRINT ALL CHECKS again.
Bring the printed checks to the guest.
Once you've collected credit cards from each guest, proceed to step 6:
6. Click one of the checks and then click PAY CHECK.
7. Click Credit.
Once payment has been applied, 2 copies of the receipt print for that check with a blank signature line and a blank tip line on each.
8. Repeat steps 6-7 for each check.
Now you may deliver the 2 copies of the receipt to the guest to add their tip and sign it.
Example of one guest's receipts:
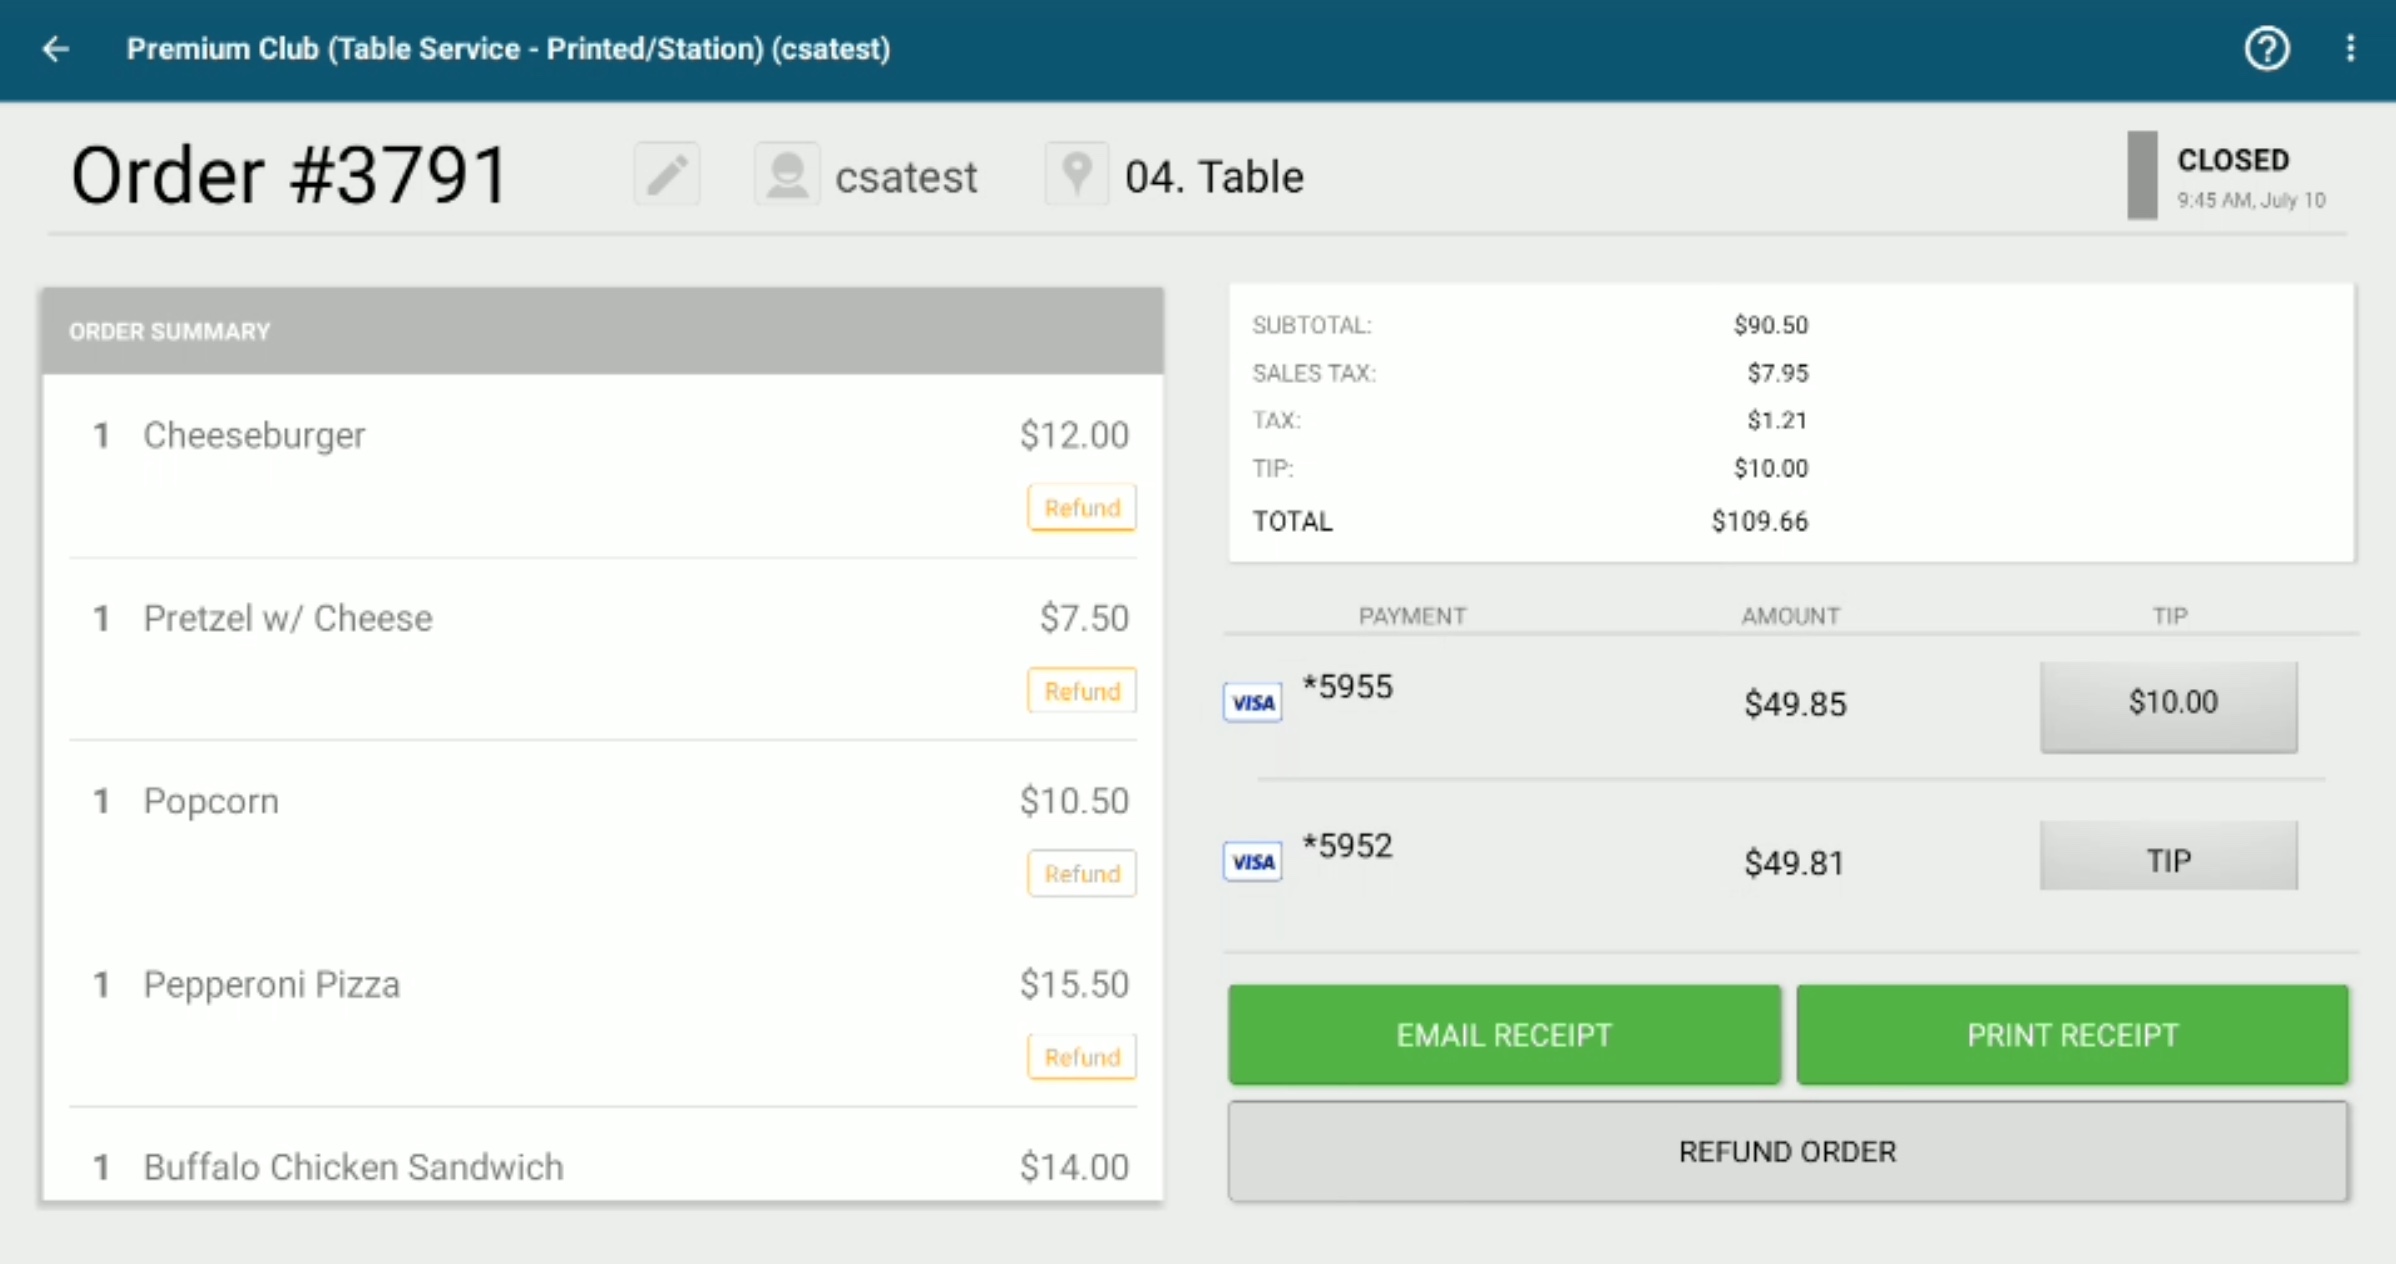
10. Once you've collected the signed receipts, navigate to the Orders page under Completed Orders.
11. Select the completed order. Next to the card, click Edit Tip and input the tip amount that the guest wrote on their receipt. Repeat for all credit cards.
Workflow #2: Split Checks by Item
1. Enter Server Station.
2. Start a tab or tab no card with multiple items on it.
3. Click the open tab on the orders page. Click Print Receipt and have guests indicate which items they each will pay for.
4. Click SPLIT CHECKS.
5. Click the check box next to each of the items and then the blue arrow to move those items to a new check. Tap New Check+.
Note:
- Any items not added to a new check will remain on the table check and able to be paid separately.
If you want to adjust the quantity of the item to move to the new check, click the item (not the checkbox) and click the Check # or New Check +. Use the plus and minus signs to adjust the quantity of the item being moved to the relevant check.
Once all items have been assigned to the relevant check, click PRINT ALL CHECKS.
Note: No matter how many checks you created, when you click PRINT ALL CHECKS (before paying checks), 1 receipt prints per check that you may deliver to the guest. If you'd like a second copy, click PRINT ALL CHECKS again.
Bring the checks to the guests.
6. Once credit cards have been collected from each guest, click one of the checks and then click PAY CHECK.
7. Click Credit.
Once payment has been applied, 2 copies of the receipt print for that check with a blank signature line and a blank tip line on each.
8. Repeat steps 6-7 for all checks.
Now you may deliver the 2 copies of the receipt to the guest to add their tip and sign it.
10. Navigate to the Orders page under Completed Orders.
11. Select the completed order. Next to the card, click Edit Tip and input the tip amount that the guest wrote on their receipt. Repeat for all credit cards.
Workflow #3: Split Checks by Guest: Restaurant ONLY
Please note that this workflow only works when using a Restaurant Location and in Server Station as it requires you to assign each item to a Guest number when starting the tab or adding to the tab.
1. Enter Server Station.
2. Start an order with the number of guests at the table. On the menu screen, tap the item within the cart and assign it to a guest.
3. At the checkout screen, select tab no card.
4. Click the open tab on the orders page. Click SPLIT CHECKS. The Table Check will be divided up by Guest.
5. Click SPLIT ORDER BY GUEST to create an itemized check for each guest.
7. Click PRINT ALL CHECKS. No matter the number of guests you're splitting by, when you click PRINT ALL CHECKS (before paying checks), 1 receipt prints per split check.
8. Once credit cards have been collected from each guest, click one of the checks and then click PAY CHECK.
9. Click Credit.
Once payment has been applied, 2 copies of the receipt print for that check with a blank signature line and a blank tip line on each.
10. Repeat Steps 8-9 for each check.
Now you may deliver the 2 copies of the receipt to the guest to add their tip and sign it.
11. Navigate to the Orders page under Completed Orders.
12. Select the completed order. Next to the card, click Edit Tip and input the tip amount that the guest wrote on their receipt. Repeat for all credit cards.
Workflows #1 and #2 outlined in this article also work when not using Server Station. This means that you could follow these workflows when running tabs at a Location that is assigned a Concession Stand as well.
The only difference would be that you are not assigning a table number or suite number to the tab. For example, these workflows could be utilized at a bar that is running tabs and using printed receipts.
Workflow #3 can only be used in a Restaurant Location when using Server Station since Guests must be assigned to each menu item in order for it to function.